
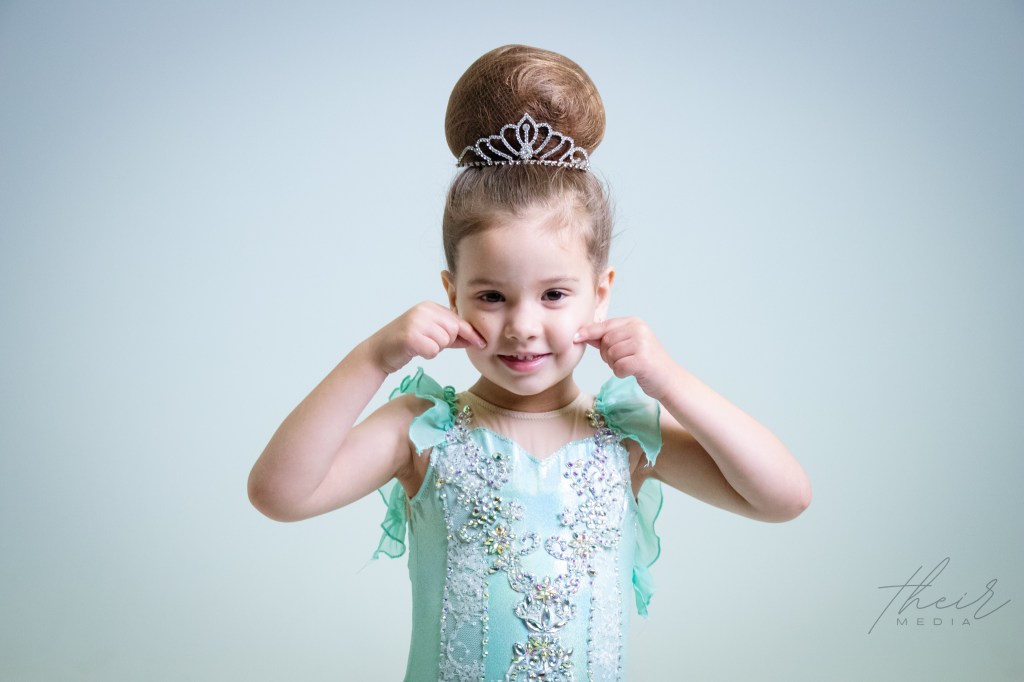
A bun is not just a hairstyle; it’s a symbol of discipline, precision, and elegance in the world of calisthenics. Whether you’re a seasoned cali student or a beginner taking your first steps in the world of calisthenics, mastering the art of creating the perfect bun is essential. In this step-by-step guide, we’ll walk you through the process of achieving a flawless bun that not only looks polished but also ensures comfort and security during your routines and performances.
Materials Needed:
Before you begin, gather the following materials:
- Hairbrush
- Fine-tooth comb
- Hair elastics
- Bobby pins (matching your hair color)
- Hairnet (optional for added security)
- Hairspray or hair gel
Step 1: Start with Clean and Dry Hair
Begin by washing and thoroughly drying your hair. A clean canvas makes it easier to work with, and dry hair ensures that your bun will stay in place throughout your dance practice or performance.
Step 2: Brush and Detangle
Using a hairbrush, gently brush your hair to remove any knots or tangles. A smooth base will make it easier to create a neat and tidy bun.
Step 3: Gather Hair into a Ponytail
Tilt your head back and gather your hair into a high ponytail at the crown of your head. Use a hair elastic to secure the ponytail tightly. Make sure the ponytail sits directly in the center of your head. Depending on the performance or class, you could place the bun at the top (crown) of your head for a high bun, or at the nape of your neck for a low bun. Use hairspray or gel to ensure a slick ponytail without any flyaways.
Step 4 (optional): Tease the Ponytail
No, we don’t mean ‘make fun of’! For a bun that is big and voluminous, gently use a brush or comb to back-comb or ‘tease’ the hair. Start from the ends and brush backward toward the base of the ponytail. You can also add a ‘hair donut’ for those with short or fine hair, or if you want an extra big bun!

Step 5: Twist the Ponytail
Take the ponytail and twist it in one direction. As you twist, the hair will naturally start to coil around the base. Keep the twist tight and close to your head. If you are using a hair donut, keep the twist light, and instead sculpt the hair around the donut. Make sure to cover the whole thing!
Step 6: Wrap the Twist into a Bun
Once the twist is tight and secure, start wrapping it around the base of the ponytail to form a bun. Tuck the ends under the bun and use bobby pins to secure any loose strands. Ensure that the bun is centered and sits snugly against your head. Once secure, you can gently tug or press the bun into a more flattering ‘dome’ shape.
Step 7: Use a Hairnet
For an extra layer of security and a polished look, use a hairnet. Place the hairnet over the bun and secure it at the bottom with bobby pins. This step is optional, but especially beneficial for performances, as it helps to keep stray hairs in place.
Step 8: Secure with Bobby Pins
Use bobby pins to secure the bun in place. Insert the pins at different angles, crisscrossing them for added stability. If your hair is thick or long, you may need more pins to ensure the bun is secure.
Step 9: Finishing Touches
If you have flyaways, baby hairs, or want extra hold, you can use hairspray or a small amount of hair gel to smooth down any unruly strands. Remember to choose products that provide a firm hold without making your hair too stiff.
Congratulations! You’ve now mastered the art of creating the perfect bun. Whether you’re headed to practice or gearing up for a performance, this classic hairstyle will not only showcase your dedication to calisthenics but also keep you looking elegant and poised throughout your routine. With a bit of practice, you’ll be able to effortlessly create a flawless bun that complements your grace and passion for calisthenics.


Leave a comment